How to Start Upcycling Furniture at Home
You don't need a professional workshop to turn a tired piece of furniture into something worth keeping. Most of the upcycling we do at Upcyclisten started exactly the way you'd start at home: a piece found on the street, a few hand tools, some sandpaper, and a weekend. The difference between a bodged paint job and a genuinely good result comes down to preparation, material choice, and a willingness to sand longer than you think is necessary.
This guide covers the process from finding a piece to finishing it, with practical advice for working in a garage, balcony, or even a well-ventilated room.
Finding the right piece
Not everything is worth upcycling. The best pieces to start with share a few characteristics:
- Solid wood construction. Particleboard and MDF have a limited lifespan and don't take paint or stain well once they've swollen from moisture. Solid wood (even cheap pine) can be stripped, sanded, and refinished multiple times.
- Good joints. Check the joints by rocking the piece. Wobbly legs can be re-glued; completely loose mortise-and-tenon joints are harder to fix without clamps and experience. Drawers that stick are usually an easy fix (wax on the runners).
- Interesting shape. A boring piece of furniture doesn't become interesting just because you paint it teal. Look for pieces with good proportions, interesting hardware, or a shape that suits your room.
Where to find pieces in Berlin (and Germany generally): Sperrmull pickup days (check your local BSR schedule), eBay Kleinanzeigen, flea markets at Mauerpark and Arkonaplatz, charity shops (Humana, Oxfam), and the "free" section on nebenan.de. Outside Berlin, the same sources exist in every German city.
Essential tools
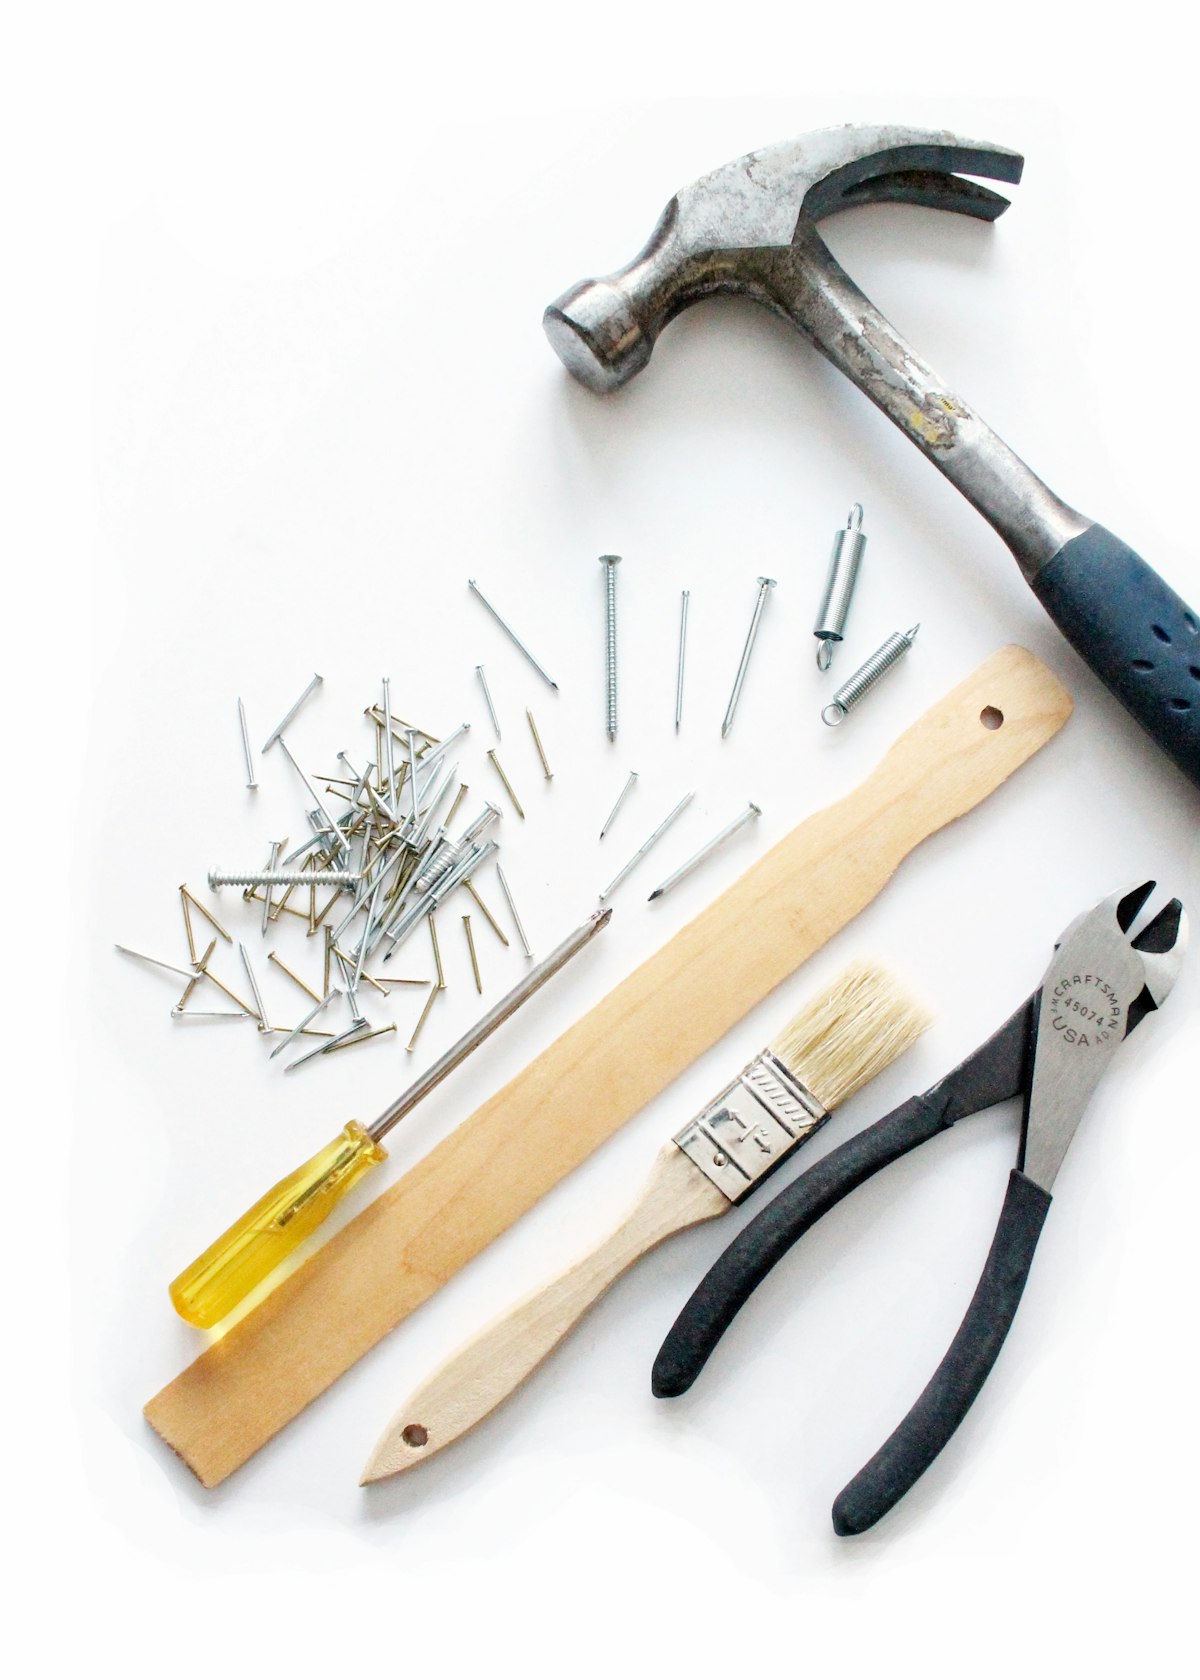
You can do most beginner upcycling with about 50 euros' worth of tools:
- Sandpaper: 80-grit (coarse, for stripping), 120-grit (medium, for shaping), 220-grit (fine, for finishing). Buy in sheets and wrap around a sanding block. An orbital sander (from about 40 euros) saves hours on larger pieces.
- A screwdriver set (Phillips and flat-head) for removing hardware before painting.
- Wood filler (water-based, sandable) for filling old screw holes and dings.
- Paintbrushes: A 50mm flat brush for large surfaces, a 25mm angled brush for edges and detail. Cheap brushes leave bristles in the paint; spend 8-10 euros per brush and clean them properly.
- A tack cloth (or a damp microfibre cloth) for wiping dust between sanding passes.
- Painter's tape if you're painting one section a different colour or masking hardware you couldn't remove.
Stripping and sanding
This is the step that separates a lasting finish from one that peels in six months. There are two main approaches:
Sanding only
If the existing finish is thin (a single coat of varnish or a light stain), sanding through it is the simplest approach. Start with 80-grit to remove the old finish, switch to 120-grit to smooth, then finish with 220-grit. Always sand in the direction of the grain. Cross-grain sanding leaves scratches that show through stain and even through paint.
Chemical stripping
For thick paint, multiple layers, or stubborn varnishes, a chemical paint stripper saves a lot of elbow work. Apply the stripper with a brush, wait the recommended time (usually 15-30 minutes), and scrape the softened paint off with a paint scraper. Then sand with 120-grit to clean up any residue. Work outdoors or in a very well-ventilated space, and wear gloves.

Painting
For most upcycled furniture, paint (rather than stain) is the forgiving choice. It hides imperfections, covers mismatched wood species, and lets you choose a colour that works in your space.
Choosing paint
- Chalk paint (Annie Sloan, Rust-Oleum chalky, or the Baumarkt equivalents) adheres to most surfaces without priming, dries matte, and sands back easily for a distressed look. It needs a wax or sealer topcoat.
- Acrylic furniture paint (Frenchic, Vintro, or any waterbased satin/eggshell) gives a harder, more durable finish. Usually needs a light sand and a coat of primer first.
- Spray paint works for hardware, small items, and frames. Not practical for large furniture.
Application
Two thin coats are better than one thick coat. Thick paint drips, pools in corners, and takes forever to dry. Apply a first coat, let it dry completely (usually 2-4 hours for chalk paint, longer for acrylics), sand lightly with 220-grit, wipe off the dust, and apply the second coat. If the coverage still looks patchy, add a third coat rather than making the second coat thicker.
Finishing
The finish protects the paint and determines the look:
- Clear wax (for chalk paint): Apply with a lint-free cloth, buff after 10 minutes. Gives a soft, matte sheen and light protection. Not ideal for surfaces that get heavy use (kitchen tables, for example).
- Hardwax oil (Osmo, Rubio Monocoat): For bare-wood finishes or over stain. Penetrates the wood, doesn't form a surface film, and is easy to reapply. Good for table tops and surfaces that see daily use.
- Polyurethane varnish (water-based): The most durable option. Use a foam roller for large surfaces to avoid brush marks. Two coats with a light sand between them. Takes 24 hours to fully cure.
Common mistakes
- Skipping the sanding. Paint sticks to sanded surfaces. It peels from glossy ones. Always sand, even if you're using "no-prep" paint.
- Not removing hardware. Painting around hinges and handles looks sloppy and chips quickly. Remove everything you can before you start.
- Painting in direct sunlight. Paint dries too fast in heat, causing brush marks and uneven coverage. Work in shade or indoors.
- Using the piece too soon. Most paints are touch-dry in hours but don't reach full hardness for 2-4 weeks. Go easy on the piece for the first month.
When to call it done
Upcycling is not restoration. A restored antique looks like it did when it was new. An upcycled piece looks like what it is: something old, remade into something useful, with the marks of its previous life still visible. A few dings, an uneven edge, a paint drip you missed on the underside of a shelf. That's the character of the piece. Stop when it's functional, good-looking from normal viewing distance, and something you'd put in your home. Perfection is for the factory; upcycling is for everything else.
If you'd like to try upcycling with guidance, we run hands-on workshops in Berlin where you bring a piece and we help you work on it.